照片处理工具代码
作为一名摄影爱好者兼Python开发者,我开发了一套自动化图片处理工具,现已开源分享。这些工具能帮助摄影师快速完成常见后期处理工作,特别适合需要批量处理图片的场景。
工具清单与适用场景
1. 基础处理
拼接.py
- 功能:将多张图片拼接为全景图或网格排列图
- 特色:智能识别相似边缘自动对齐
使用说明
- 按顺序依次输入需要拼接的照片文件名,文件扩展名可以忽略

- 效果展示
combined.jpg
combined_info.txt
1
2
3
LR-0290.jpg,0,4638
LR-0291.jpg,4638,4639
LR-0352.jpg,9277,4638拆分.py
- 功能:将单张大图按指定行列拆分为网格小图
- 应用场景:制作拼图素材、社交媒体九宫格图片
使用说明
- 把合成后的combined.jpg和combined_info.txt放在同一文件夹下,运行
拆分.py
- 会自动拆分所有图片,并放到新建的文件夹中
2. 版权保护
添加水印.py
- 功能:添加半透明文字水印
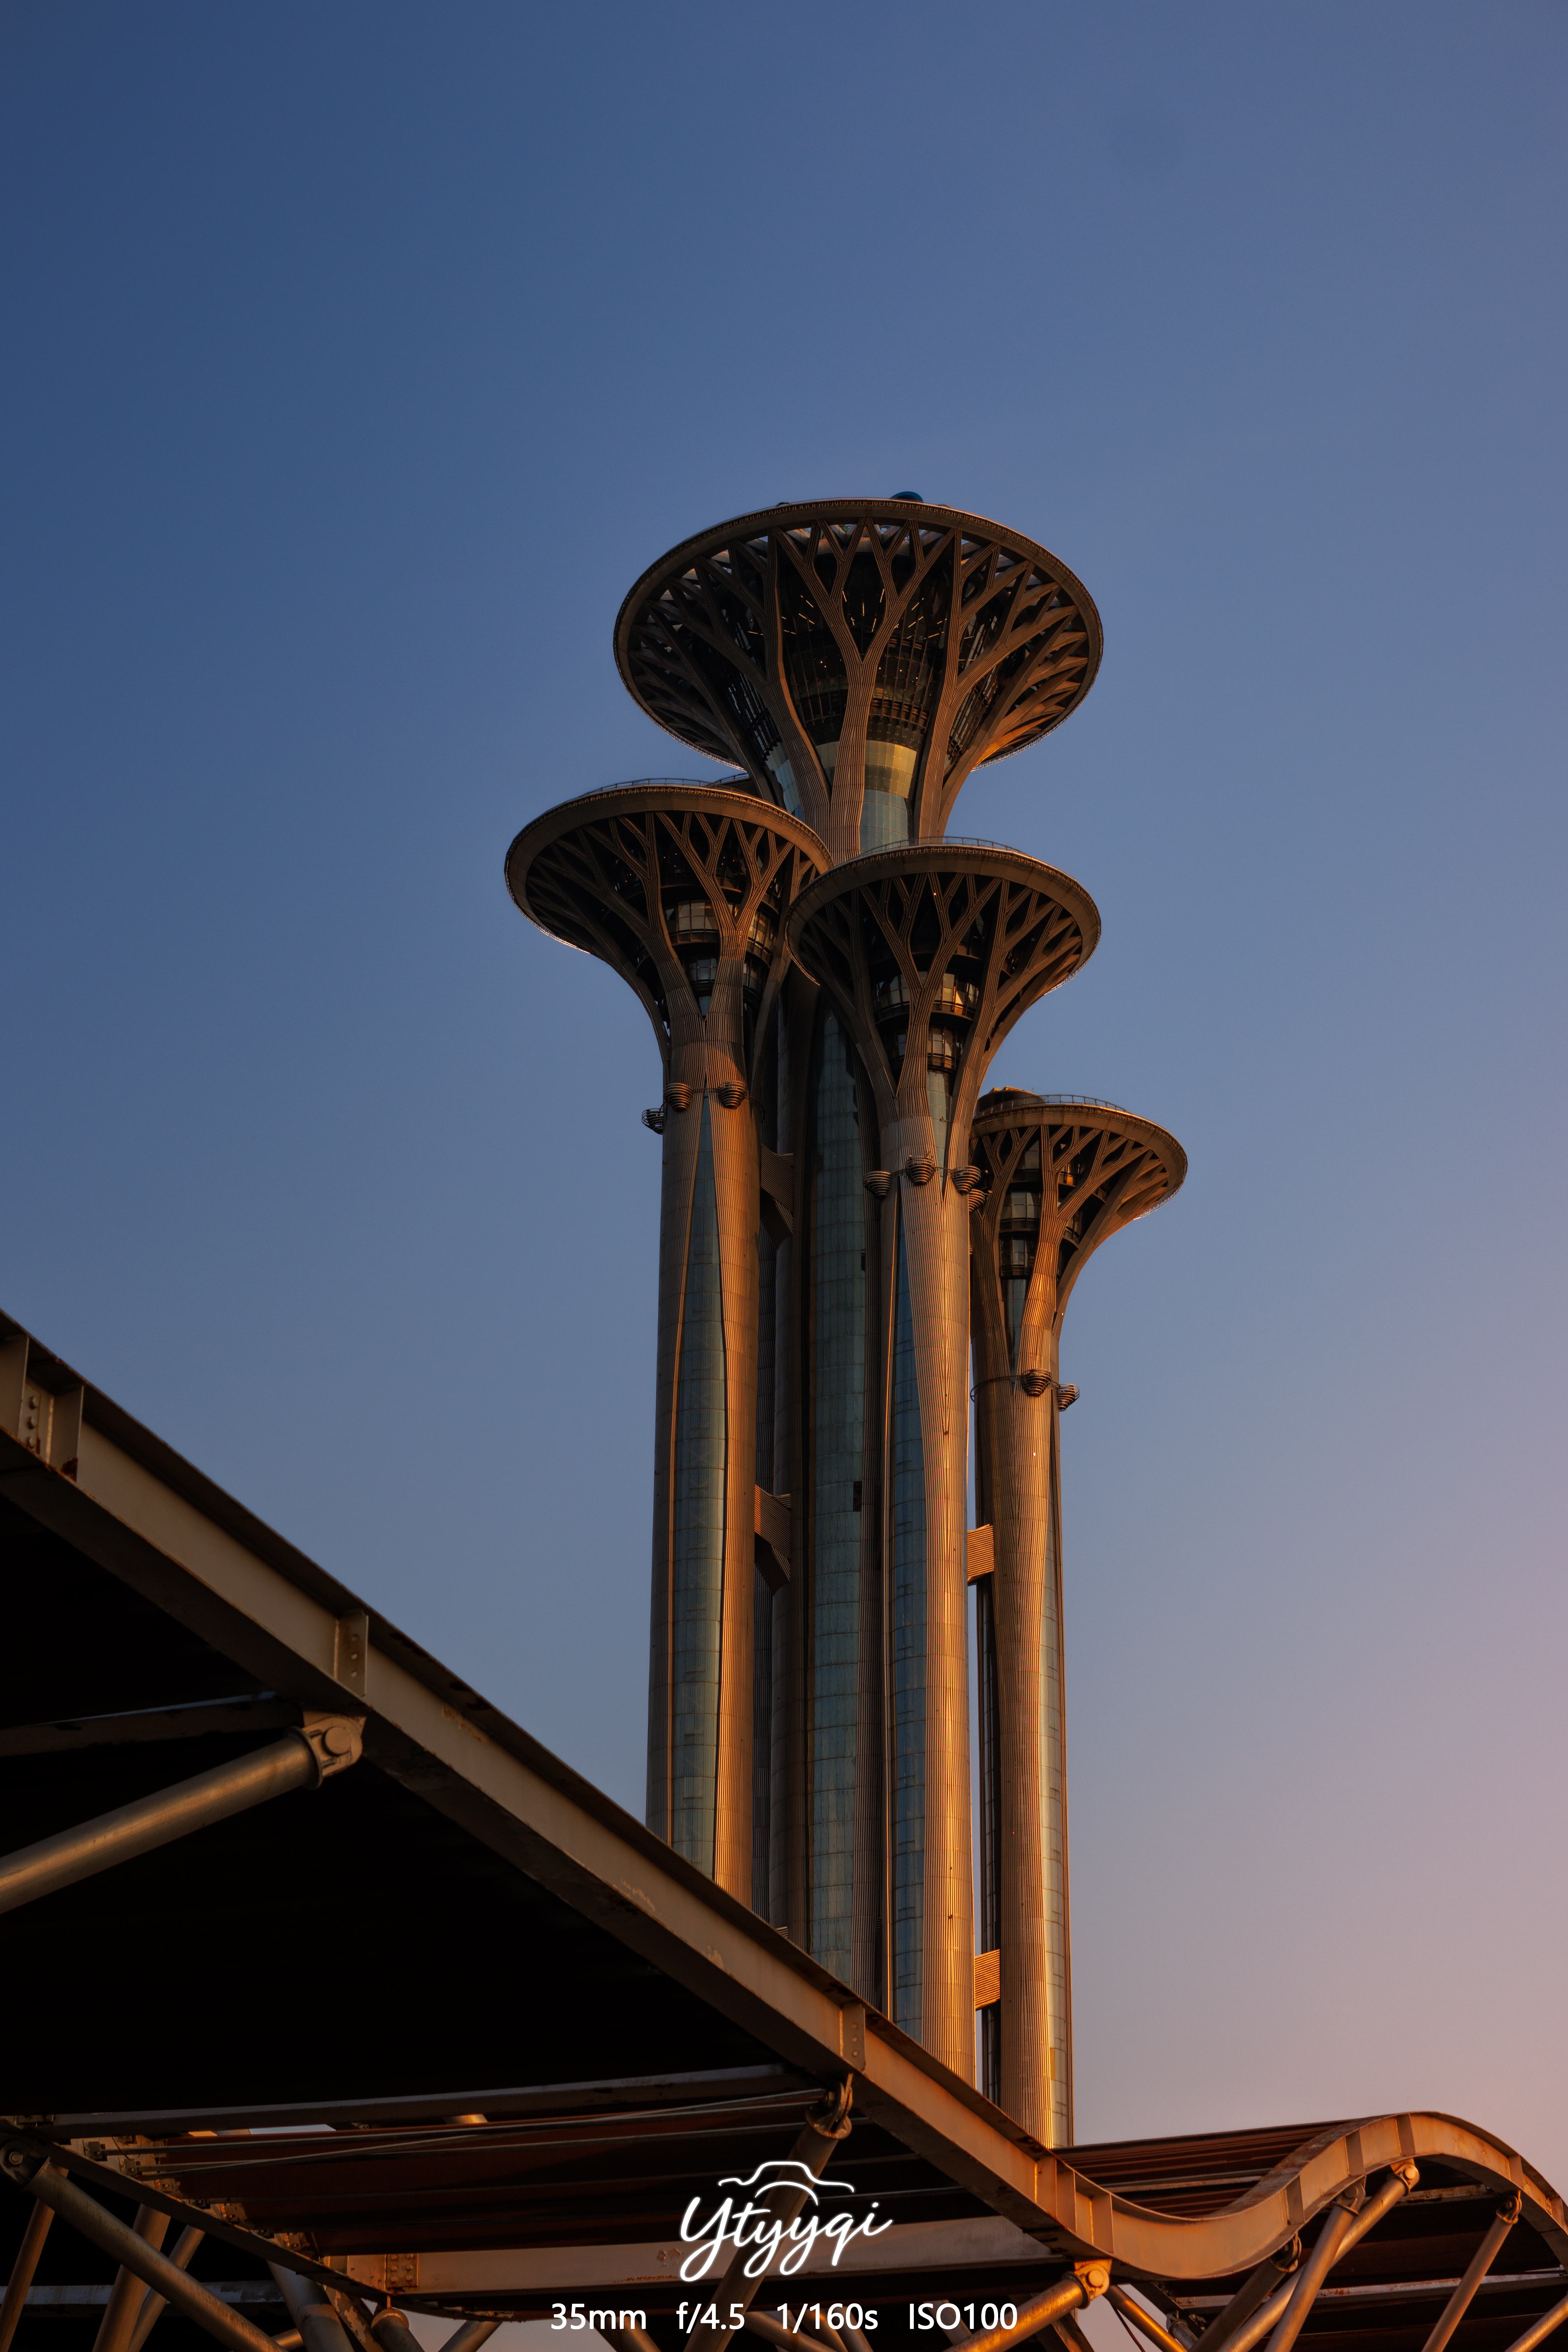
添加水印和拍摄信息.py
- 高级功能:在基础水印上叠加EXIF信息
- 自动读取:光圈、快门速度、感光度、焦段(需原图包含EXIF)
3. 艺术化处理
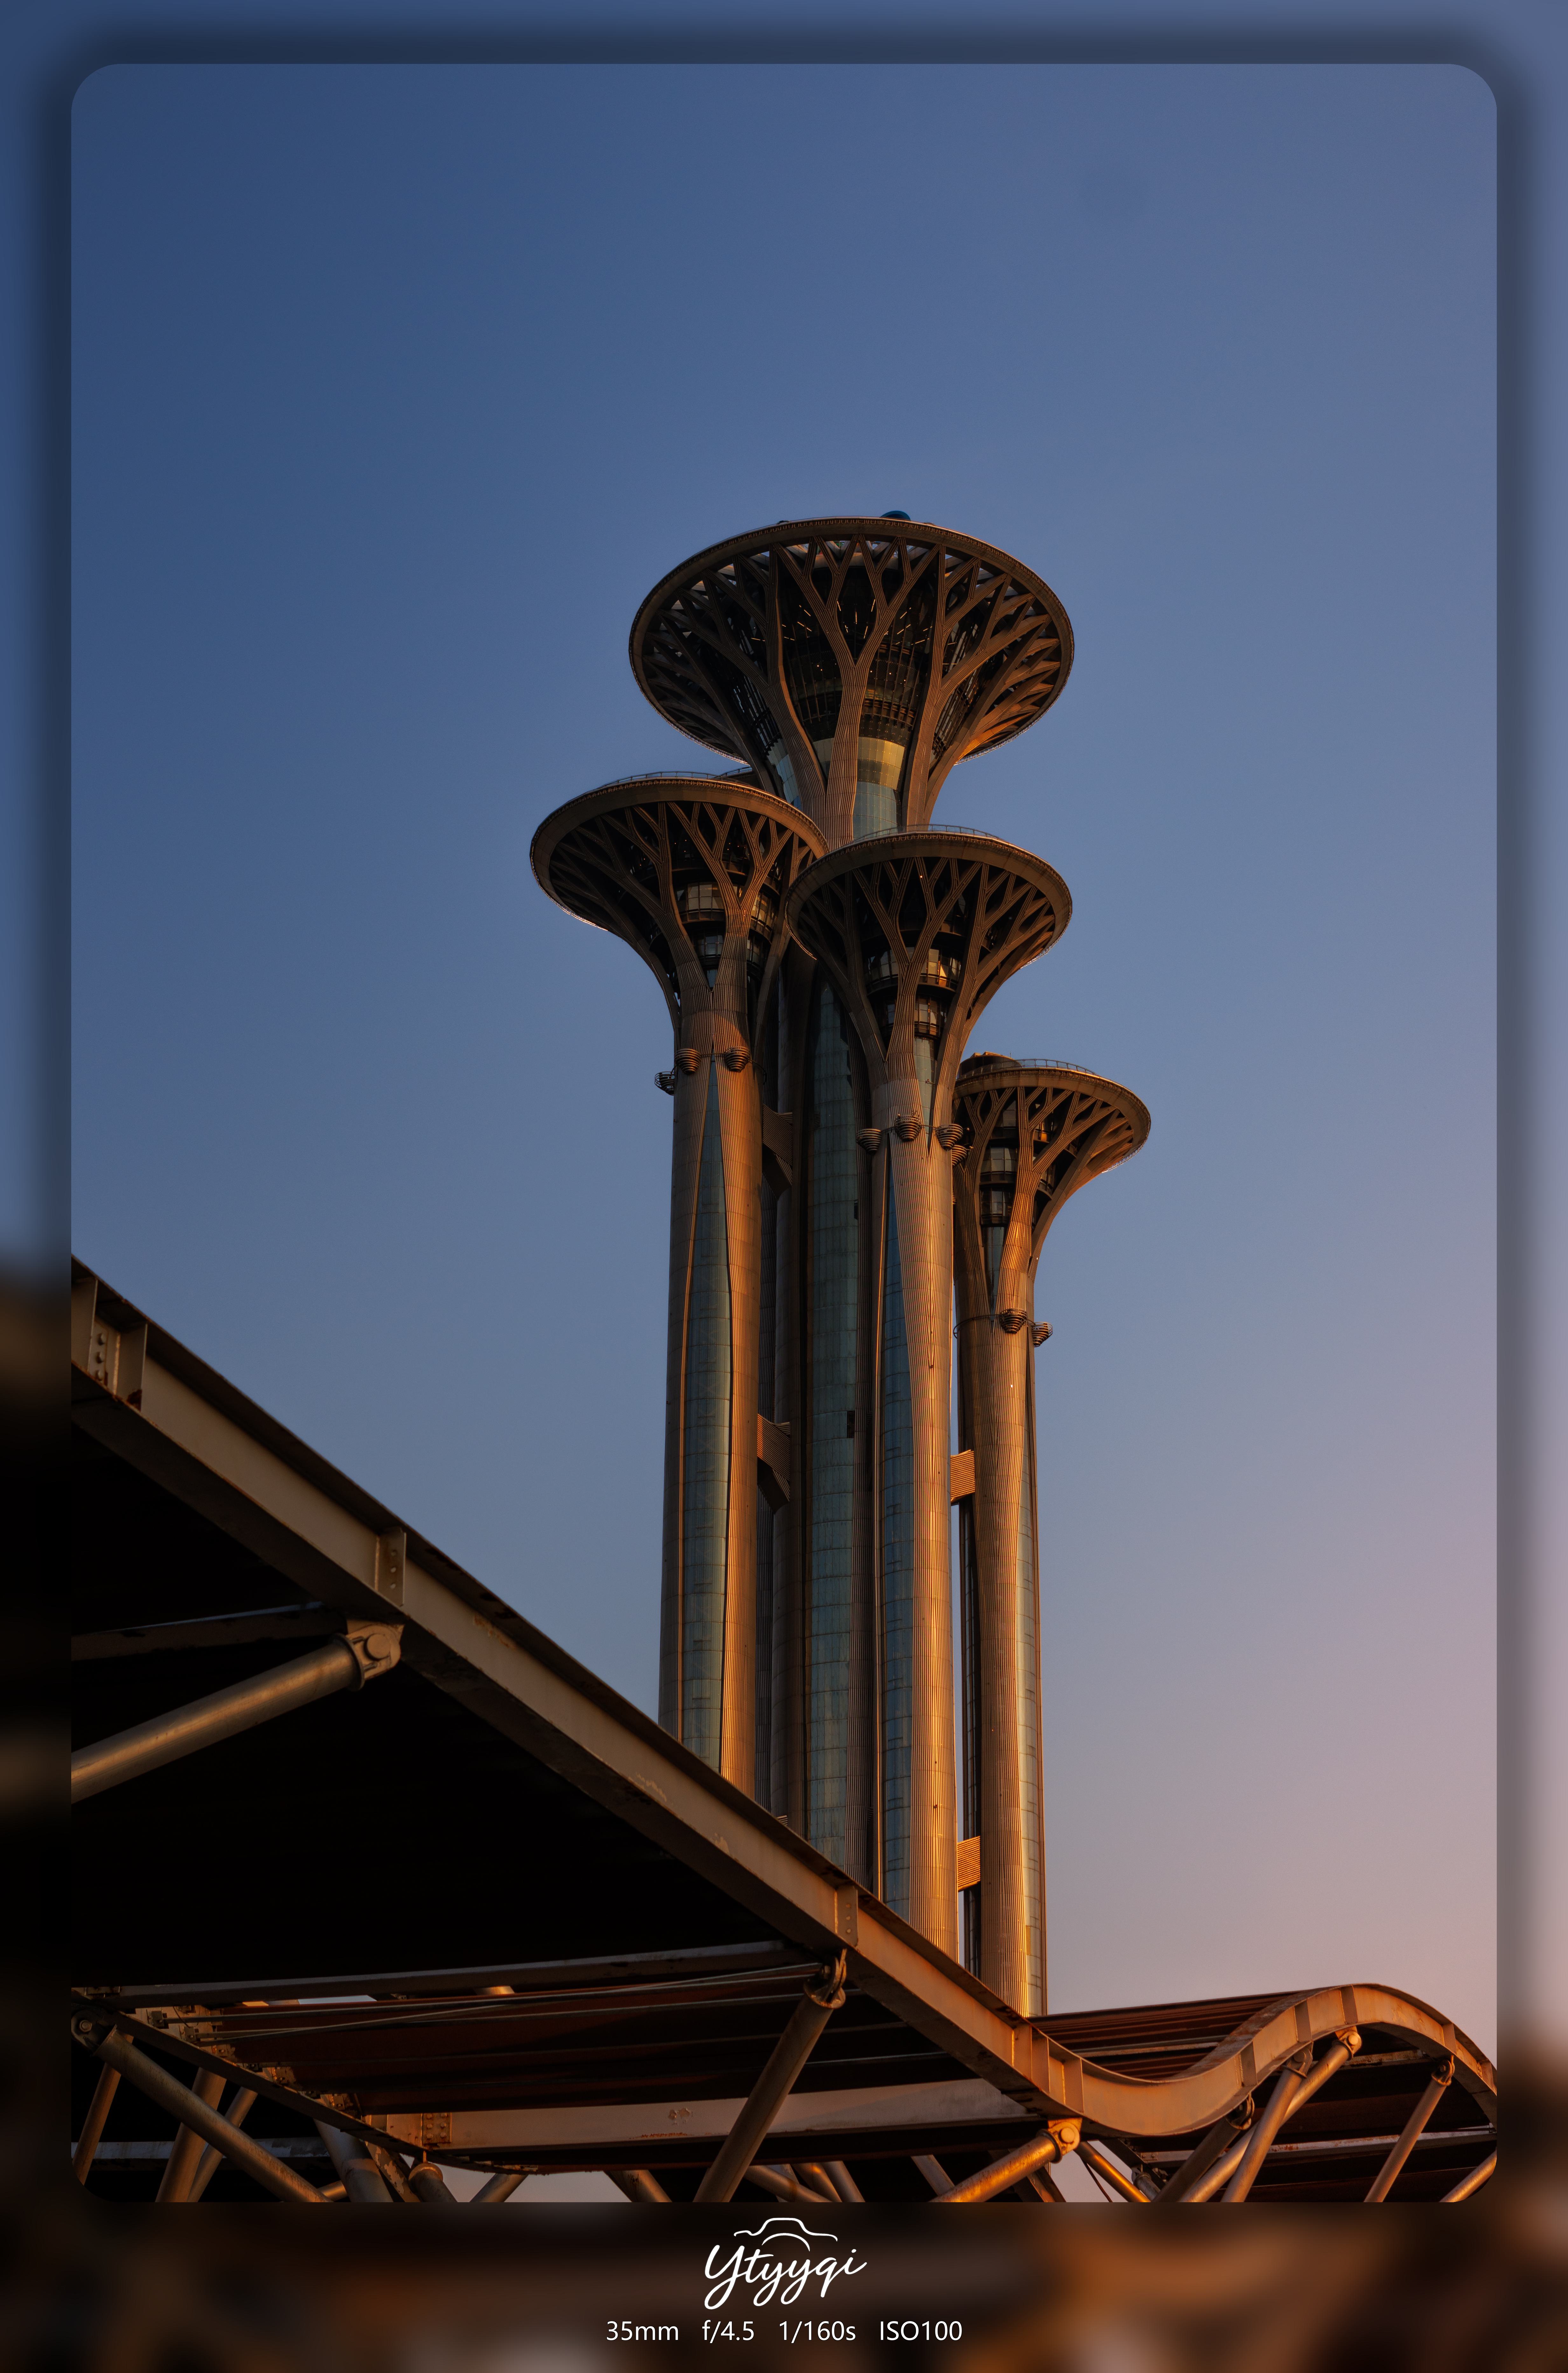
添加高斯背景和拍摄信息.py
- 二合一功能:同时实现背景模糊+参数展示
- 特色布局:
- 底部10%区域显示拍摄参数
- 参数面板半透明渐变效果
技术亮点
智能适应系统
- 根据图片尺寸自动计算
- 水印文字大小
- 水印文字的颜色
- 扩展区域大学
EXIF深度集成
- 读取拍摄信息的核心代码
使用指南
环境准备
代码中包含PIL、os、glob、piexif、Pillow等依赖库
典型工作流
- 原始图片整理到当前目录
- 运行处理脚本
- 处理结果输出到当前目录的新文件夹中
- 使用拼接.py生成作品集长图和原始图像信息文本文件
本博客所有文章除特别声明外,均采用 CC BY-NC-SA 4.0 许可协议。转载请注明来自 52_Hertz!
 wechat
 alipay
评论